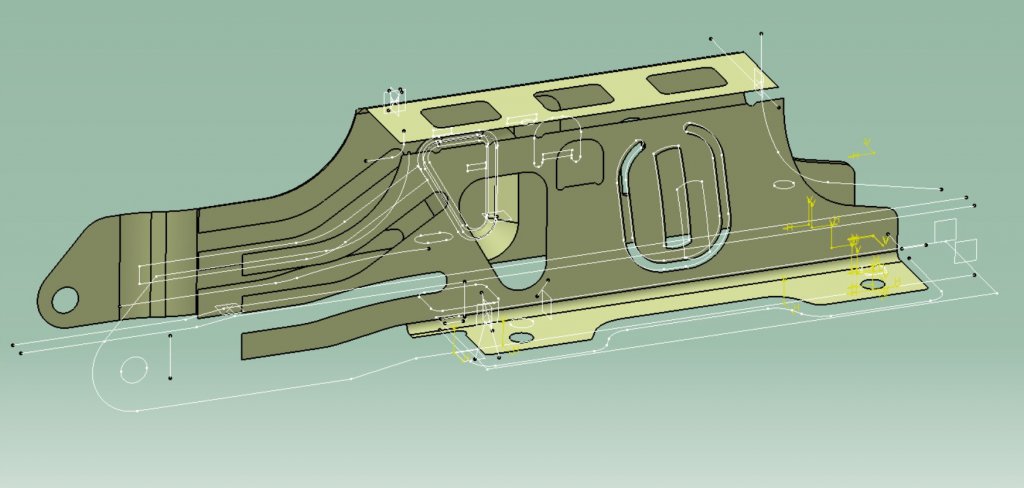
Reverse engineering of metal bracket
More and more manufacturers learn about 3D scanning and successfully put it into practice. It makes it possible to reduce the number of stages of preparation for production and optimize the cost.
With the use of 3D scanning engineers are able to obtain information on the geometry of the product much faster than using traditional measuring devices - calipers, tape measures, a micrometer and others.
Nowadays it is enough to build a layout of any size from any material, scan its geometry and generate a 3D model suitable for production on the basis of scanning data.
RangeVision faces such challenges every week. We will look at one of such projects below.
The customer contacted the branch of RangeVision in Nizhny Novgorod, Russia. His task was to scan the geometry of a metal bracket and build its mathematical model.
The customer chose to use 3D scanning as the main measuring tool for all complex surface geometries. His further aim was to obtain an accurate parametric model which would be suitable for repair of industrial equipment.
The bracket was molded from a steel sheet. Its size was 2.5 mm, dimensions -300mm x 100mm x 90 mm.


The task was rather challenging due to the fact that the internal damage had accumulated inside the metal in the process of pressing that distorted the original geometry after removal from the die tooling.
The bracket had a significant shape warping which could not be fixed without special tools.
Despite this complicating factor, the engineer of RangeVision took up the work.
The bracket was digitized with RangeVision PRO 2M 3D scanner in free mode without using markers.


In the process of model building the engineer carried out verification, which is a combination of a source scan with a constructed model in GOM Inspect software. The resulting parametric model had no shape warpage or deformation.


3D scanning and warpage analysis with implementation of all the measurements took 6 hours. The construction of a 3D model took 10 hours in total.
Thus, the work was completed within 2 working days.
The customer received a high-precision 3D model for further reconstruction or repair of die tooling. It made it possible to continue the manufacture of this product.

The preparation time for repair was significantly reduced, because the measurement of this part by conventional methods would have taken longer, with the result being less accurate.
The customer was pleased with the quality of the result which was obtained with the help of RangeVision PRO 2M 3D scanner.
These examples demonstrate the way 3D scanning simplifies solution of complex production tasks.