3D scanning of large objects with photogrammetry
The reference cloud of points created during the photo project allows to minimize the volume error when 3d scanning. Additionally, it makes possible to accurately and quickly scan areas of the object located far apart from each other without collecting all the surfaces between them.
Photogrammetry can be used autonomously, as a non-contact measuring machine. In this case, you can make the necessary measurements by the points-markers.
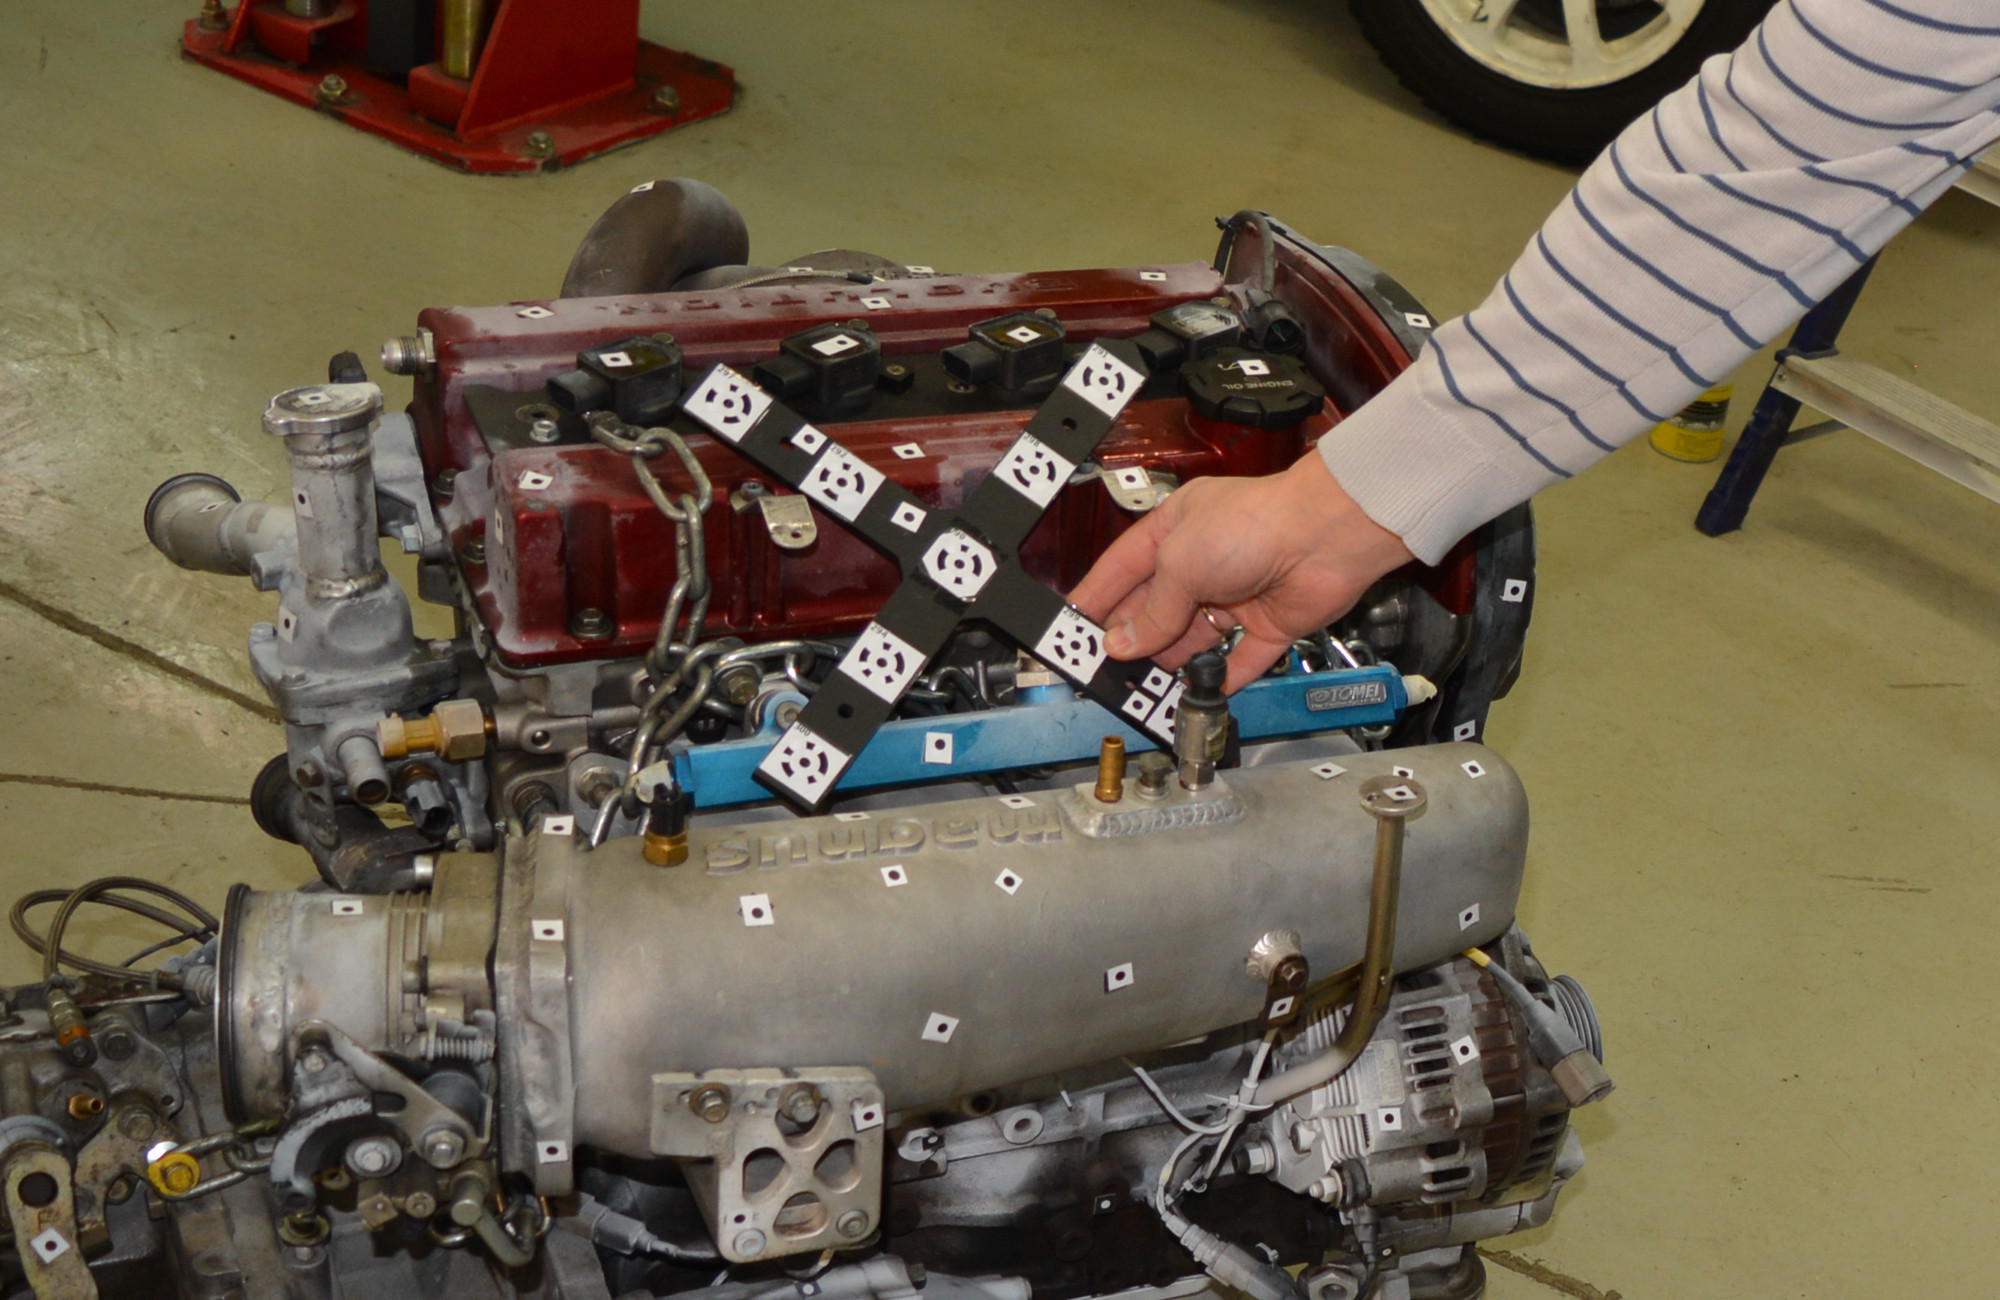
Combined method of scanning will be demonstrated with RangeVision PRO 3D scanner digitizing car engine (1000 x 1000 x 500 mm size). First of all both the object and the space around it should be prepared: the object should be placed in such a way that all surfaces to be scanned are available for digitization with both a photogrammetry system and a 3D scanner. The surfaces of the object that are difficult to catch with the scanner (such as dark, glare or impregnated with oil) should be cleaned and treated with a matting spray. Technological markers should be applied on the object for positioning.
The photogrammetric process consists of applying code markers, installing scale rulers and photographing the object from various angles.

|
|
As a result of the photo project we get a reference point cloud that is exported to RangeVision ScanCenter software to perform a subsequent 3d scanning. ScanCenter always comes with RangeVision 3D scanners. Besides merging and scan data editing it allows to load reference cloud of points files in .basegrid and .obc formats, as well as in specially prepared .txt files.
The exported reference point cloud allows to start scanning from any part of the object. 3d scanner, by the arrangement of a combination of points in its field of view, will determine its position relative to the object and all scans will be aligned automatically in a single coordinate system. It does not require large overlap of scans during scanning and the operator can see the result of collecting 3d data in real time.
In order to digitize the object completely, it is needed to capture its surfaces from different angles, gradually moving the 3D scanner. At the same time, the operator can ignore unnecessary parts and work only with those that are of interest to the project. Photogrammetry systems can significantly reduce the time spent on 3D scanning.
After automatic processing of scan data, the operator receives a file with information about the engine surfaces in the STL format.
RangeVision 3D scanners can be successfully used with photogrammetric systems to solve complex tasks and to scan large objects.
